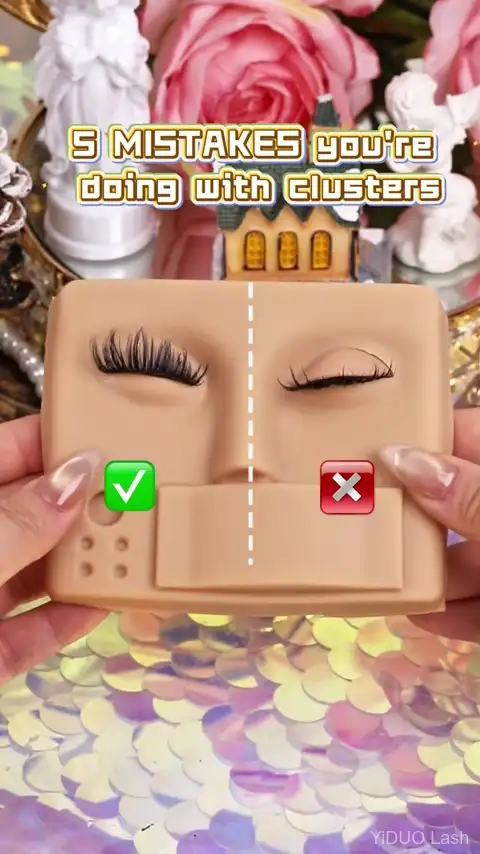
Everyone's first lash cluster application looks the same: one eye comes out flawless, the other looks like you let a toddler loose with a glue stick. The clusters lift at the inner corner by lunch, the outer ones poke your lid every time you blink, and by day two you're picking them off one by one in the bathroom mirror. The difference between "these look like extensions" and "what happened to your eyes" comes down to about five specific mistakes that almost everyone makes on their first three attempts. Here's how to skip the learning curve.
What You'll Need
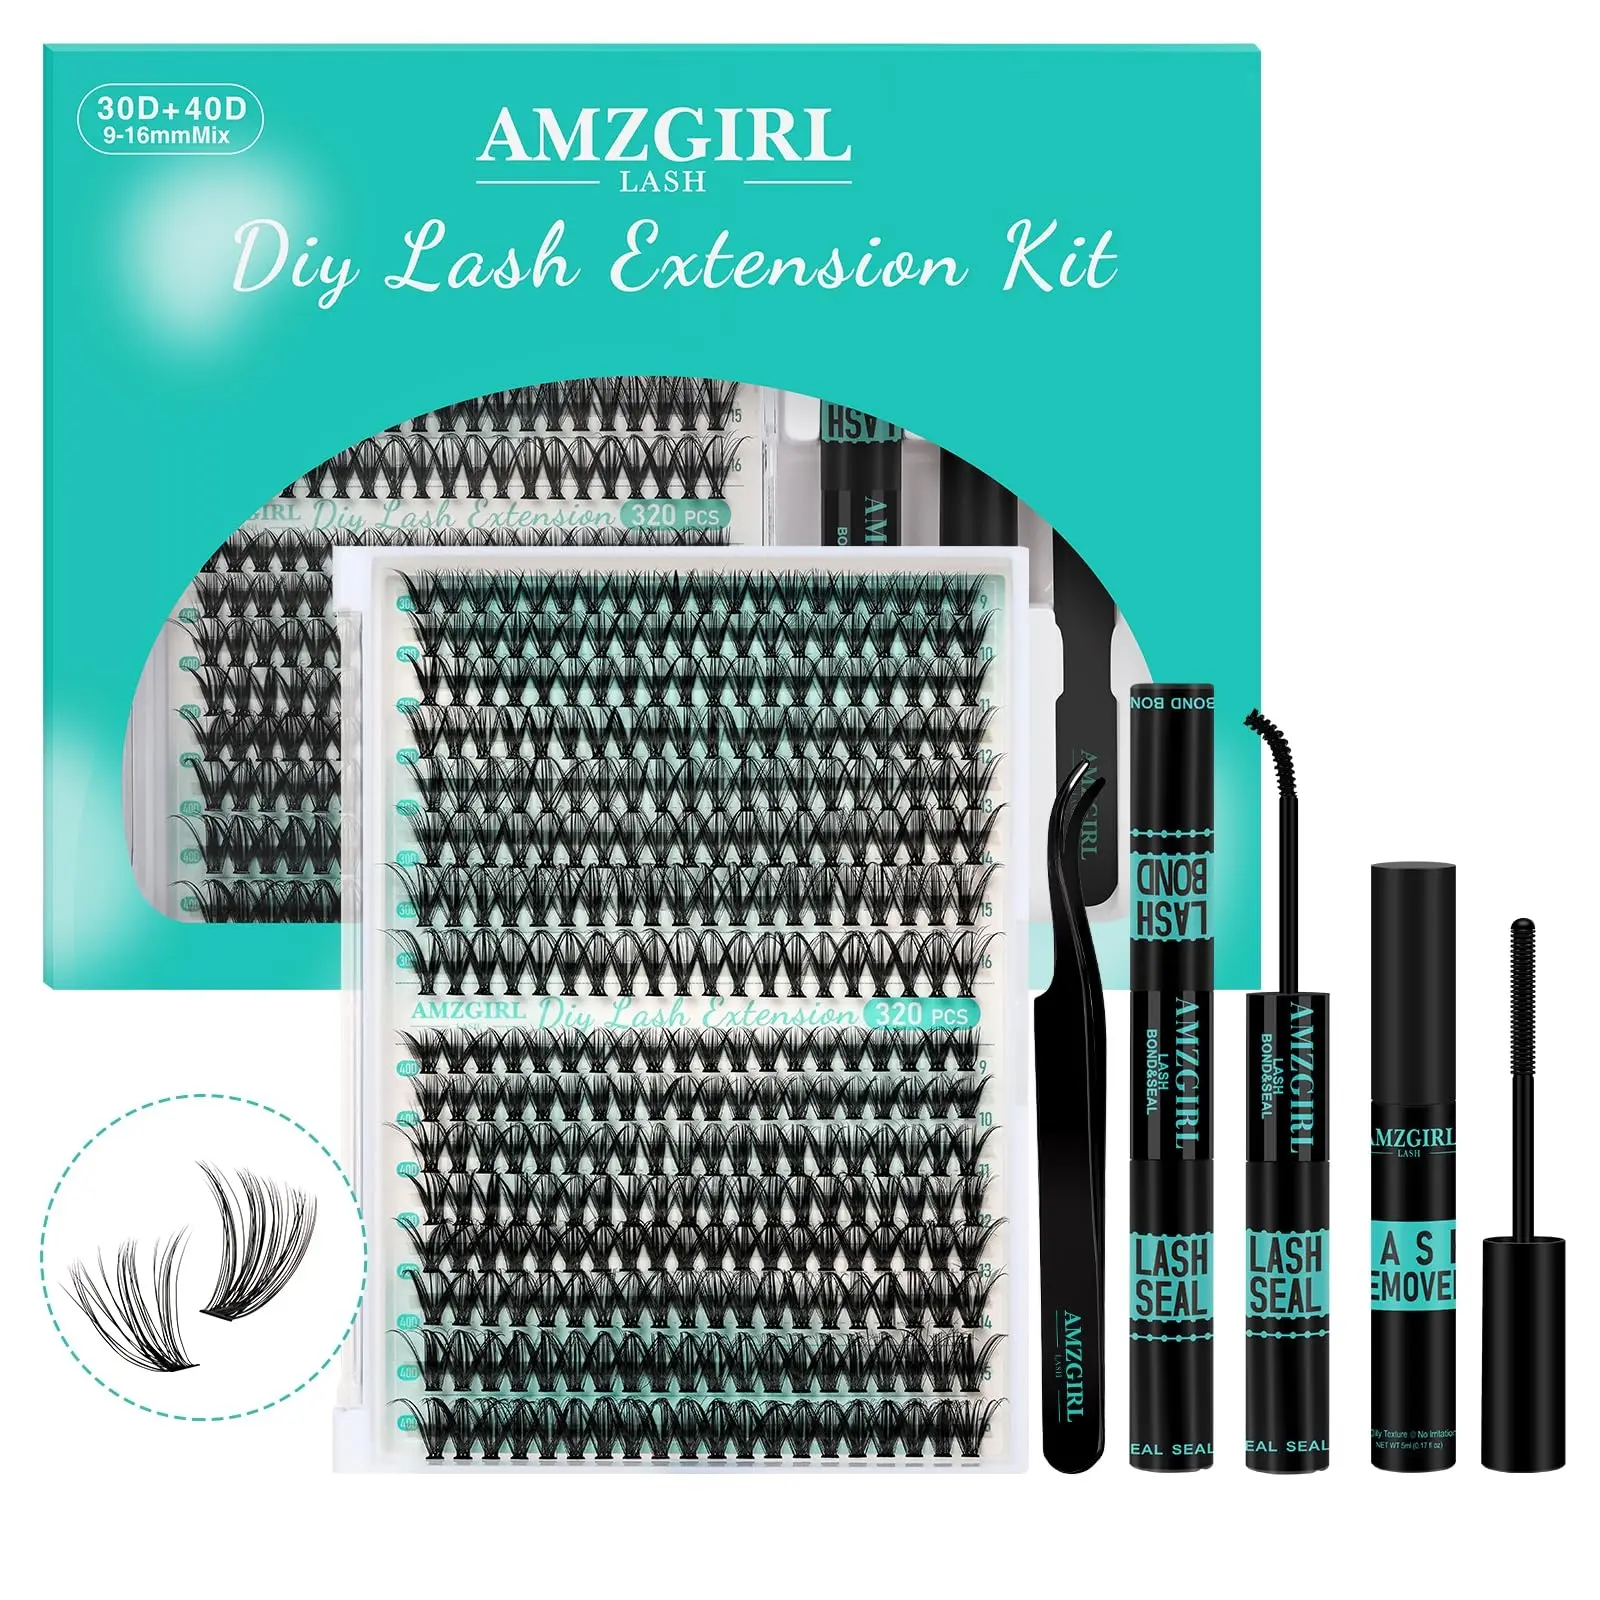
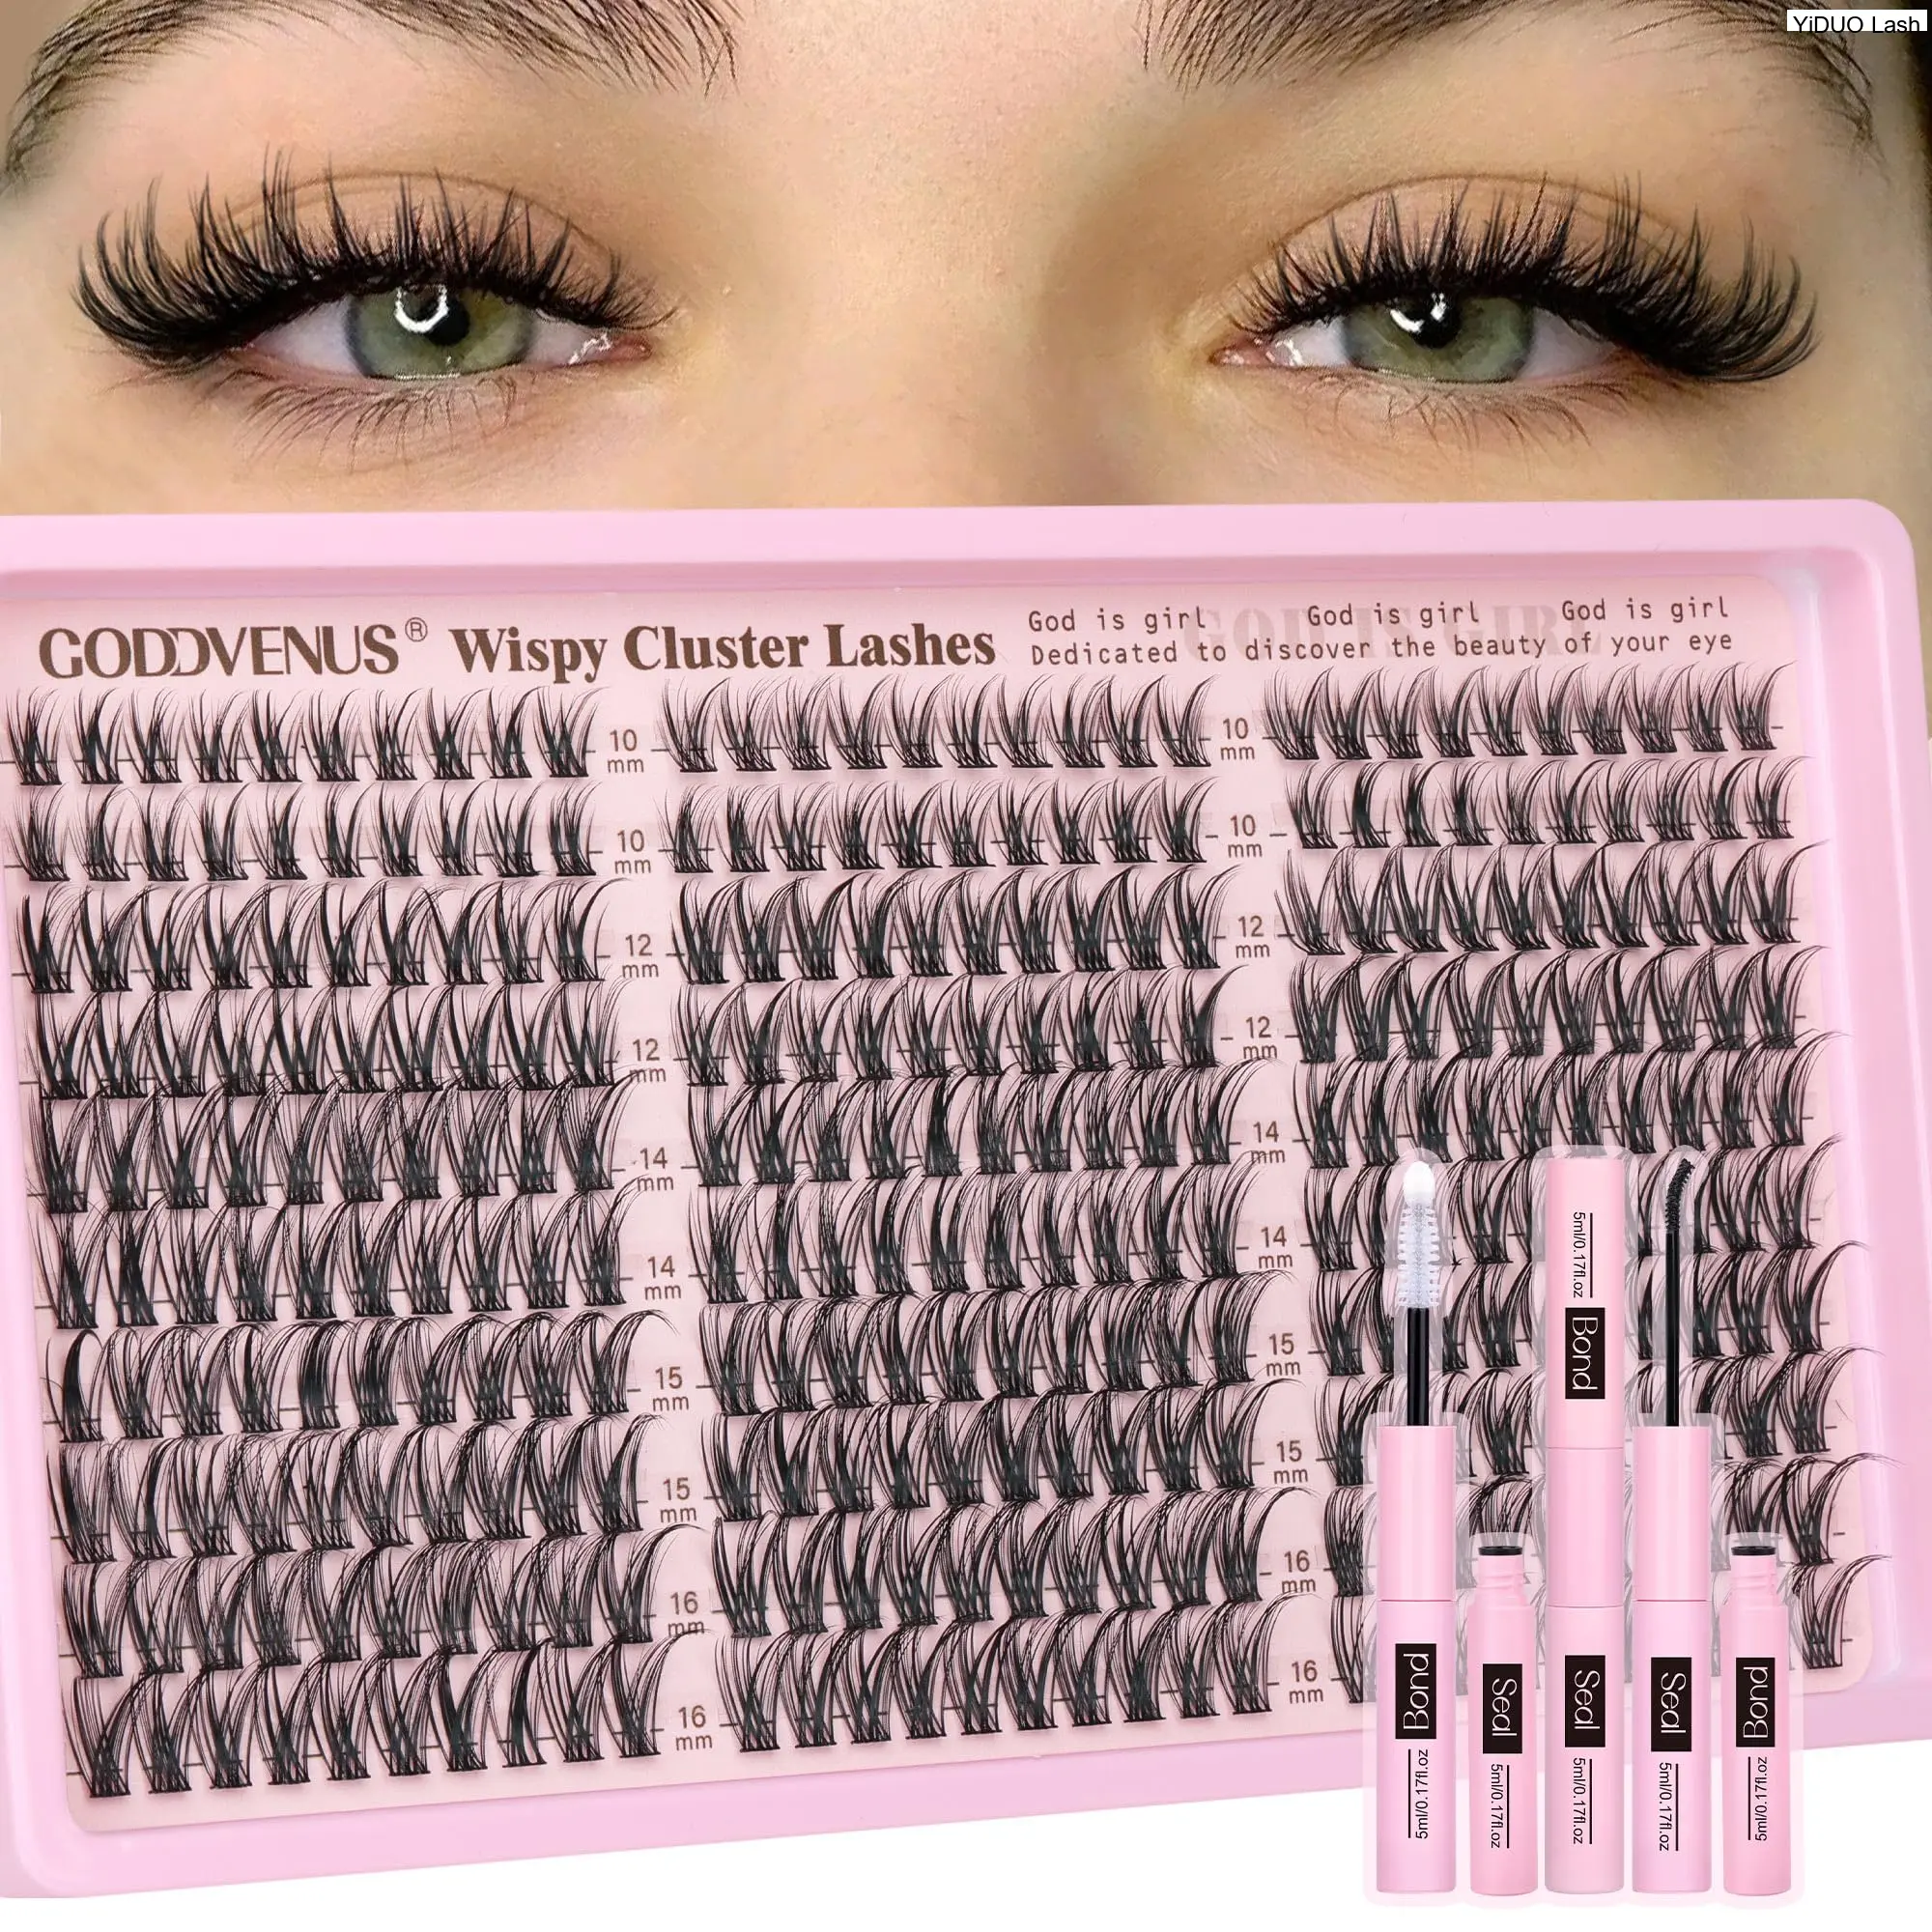
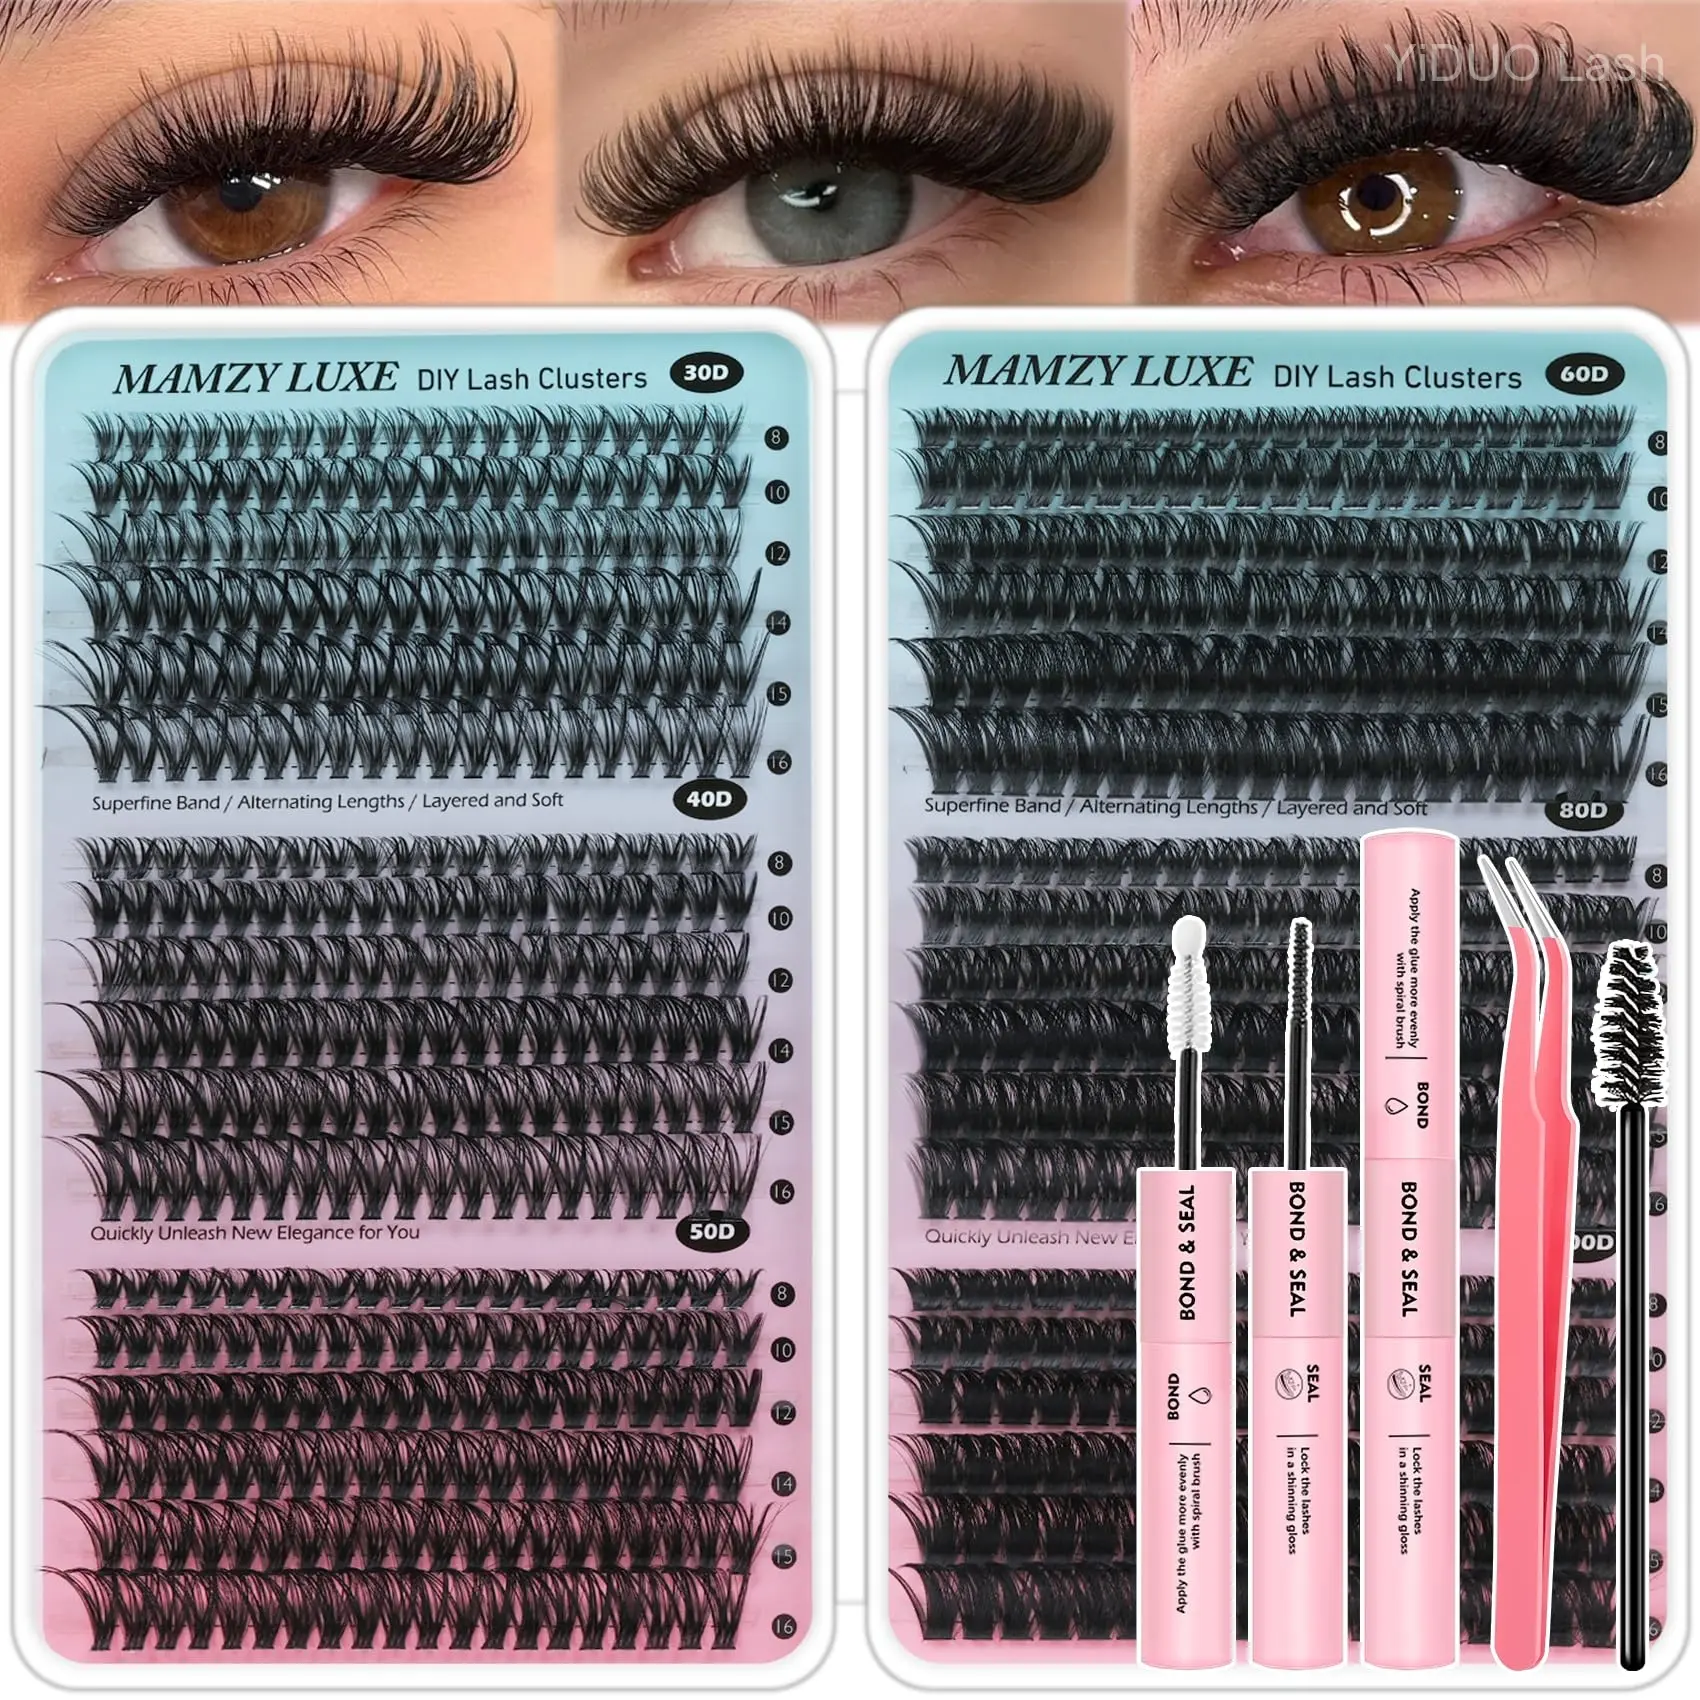
- A complete lash clusters kit with bond, seal, tweezers, and at least two density options (30D-40D for natural, 60D-100D for volume)
- Eyelash curler — curl your natural lashes BEFORE applying clusters, not after
- Micellar water + spoolie — clean natural lashes are the difference between 2-day and 5-day hold
- Small cup of water — to dip tweezers in before every pickup so the cluster releases cleanly
- 30x magnification mirror — optional but transformative; you can actually see your water line
- Q-tips — for cleaning excess bond from the water line after application
Step 1: Prep Your Natural Lashes Like a Lash Tech Would
Curl your natural lashes first — before any product touches them. Curling after applying clusters pulls on the bond and breaks the seal. Then take a spoolie dipped in micellar water (the pink Garnier one works perfectly) and brush through your lashes from root to tip, top and bottom. This removes every trace of oil, moisturizer, and yesterday's mascara. Let them dry completely — 30 seconds of patience here buys you an extra two days of wear.
If you skip this step, nothing else matters. Bond can't grip lashes that have skincare residue on them. Your outer corners will lift by day two and you'll blame the glue when it was actually the moisturizer you applied that morning.
Step 2: Map Your Lashes Before You Touch the Bond
A lash map is just a length pattern for each eye. The most forgiving beginner map is: 8mm inner corner → 10mm → 12mm → 12mm → 10mm outer corner. Lay out your clusters in order on the table before you start. For cat-eye drama, extend the outer two positions to 14mm and 16mm. For the most natural look, keep everything between 8mm and 12mm and use 30D or 40D density only.
Write it down if you need to. Nothing is more frustrating than finishing one eye and realizing you can't remember which length went where on the other side.
Step 3: Bond Application — Less Is Actually More
The #1 mistake: painting bond onto your lashes like mascara. You're not coating the lashes — you're placing a thin line of bond at the root, exactly where the cluster spine will sit. Use the wand tip, not the flat side. Apply to a 3-4 lash section at a time, not the whole eye. Wait 20-30 seconds until the bond goes from white to clear and feels tacky to the touch. If you apply clusters to wet bond, they'll slide around and the hold will be garbage.
Dip your tweezers in water before every single pickup. Bond transfers to the tool, and a dry tweezer will stick to the cluster and pull it right back off when you release. Water dip → grab cluster from the base → transfer to other hand → grab the tip → place. This four-step rhythm becomes automatic by your third session.
Step 4: Placement — Angle Matters More Than Precision
Your outer lashes naturally angle toward your temple. Your inner lashes angle toward your nose. If you place every cluster straight up and down, the outer ones will poke your lid and the inner ones will cross over each other. Match the angle of each cluster to the natural angle of your lashes at that position. Tilt your head instead of twisting your wrist — it's easier and more accurate.
Place the cluster as close to the water line as possible without touching it. If bond gets in the water line, your eyes will itch and water all day and the clusters will lift. Side by side, no overlap, no gaps. If a cluster is too long for the outer corner, trim it with small scissors before placing — don't force a 16mm cluster where a 12mm should go.
Step 5: Pinch, Seal, Pinch Again — The Retention Secret
Once all clusters are on, dip your tweezers in water again and pinch each cluster from root to tip. Pinch, don't squeeze — you're pressing the natural lash and the cluster spine together, not crushing them. Start at the outer corner and work inward. The pinch is what locks the bond and creates the mechanical connection that lasts days instead of hours.
Apply seal — just a light tap at the base of each cluster, not a full coat. Then pinch everything again, same sequence. Take a damp Q-tip and gently dab along your water line. If the Q-tip comes away with bond residue, you just prevented a full day of eye irritation.
Common Mistakes (That I Made So You Don't Have To)
- Applying bond to the whole eye at once. By the time you reach the outer corner, the inner bond has dried. Work in 3-4 lash sections.
- Skipping the water dip. Your tweezers WILL stick to the cluster without it. Every single pickup. No exceptions.
- Using clusters that are too long for the inner corner. If the inner corner ends abruptly at 14mm, it looks like half a lash strip fell off. Taper down to 8mm or 10mm.
- Placing clusters on top of lashes instead of underneath. Under-lash placement is what creates the invisible-band look. Top placement looks like strip lashes.
- Not checking compatibility with your eye shape. If you have hooded or downturned eyes, shorter lengths and a C-curl (rather than D-curl) will sit more naturally.
What to Expect: Longevity, Comfort, and Maintenance
With proper prep and the pinch-and-seal routine, expect 4-6 days of wear before the outer corners need a touch-up. Sleep on your back if you can — side-sleeping puts pressure on the outer clusters and shortens wear by a day or two. Avoid oil-based cleansers and makeup removers entirely; they dissolve the bond on contact.
Remove clusters with an oil-based remover or dedicated lash glue remover — never pull them off dry. That's how you take natural lashes with them. Soak a Q-tip in remover, hold it against the lash line for 10 seconds, and the clusters will slide off. Give your natural lashes a day or two between sets to recover.
If you're still deciding which kit to start with, our individual lash extensions kit comparison breaks down two 640pc options head-to-head, and the best eyelash set review covers the Mamzy Luxe 708pc kit if you want more density variety.
YIDUO 760pc Eyelash Extension Kit
Complete beginner kit with 2X bond & seal, 60D-100D volume clusters, tweezers, and brush — everything you need to follow this guide.
View Product — $16.99The first application will take you 30 minutes. Your third will take 10. The muscle memory builds fast. Once you can place a cluster without thinking about tweezer angles and bond tackiness, you're producing salon-quality results for the price of a single coffee. The YIDUO kit's 760 clusters and double bond supply mean you can practice daily for weeks before running out — and by then, you won't need the instructions anymore.