If you have spent any time scrolling through beauty TikTok or Instagram lately, you have definitely seen cross lashes everywhere. Also called criss-cross lashes or X lashes, this style layers individual lash fibers in an overlapping, woven pattern to create a textured, wispy, and incredibly natural-looking flutter. The result? Lashes that look like you were born with them — but better.
What Are Cross Lashes?
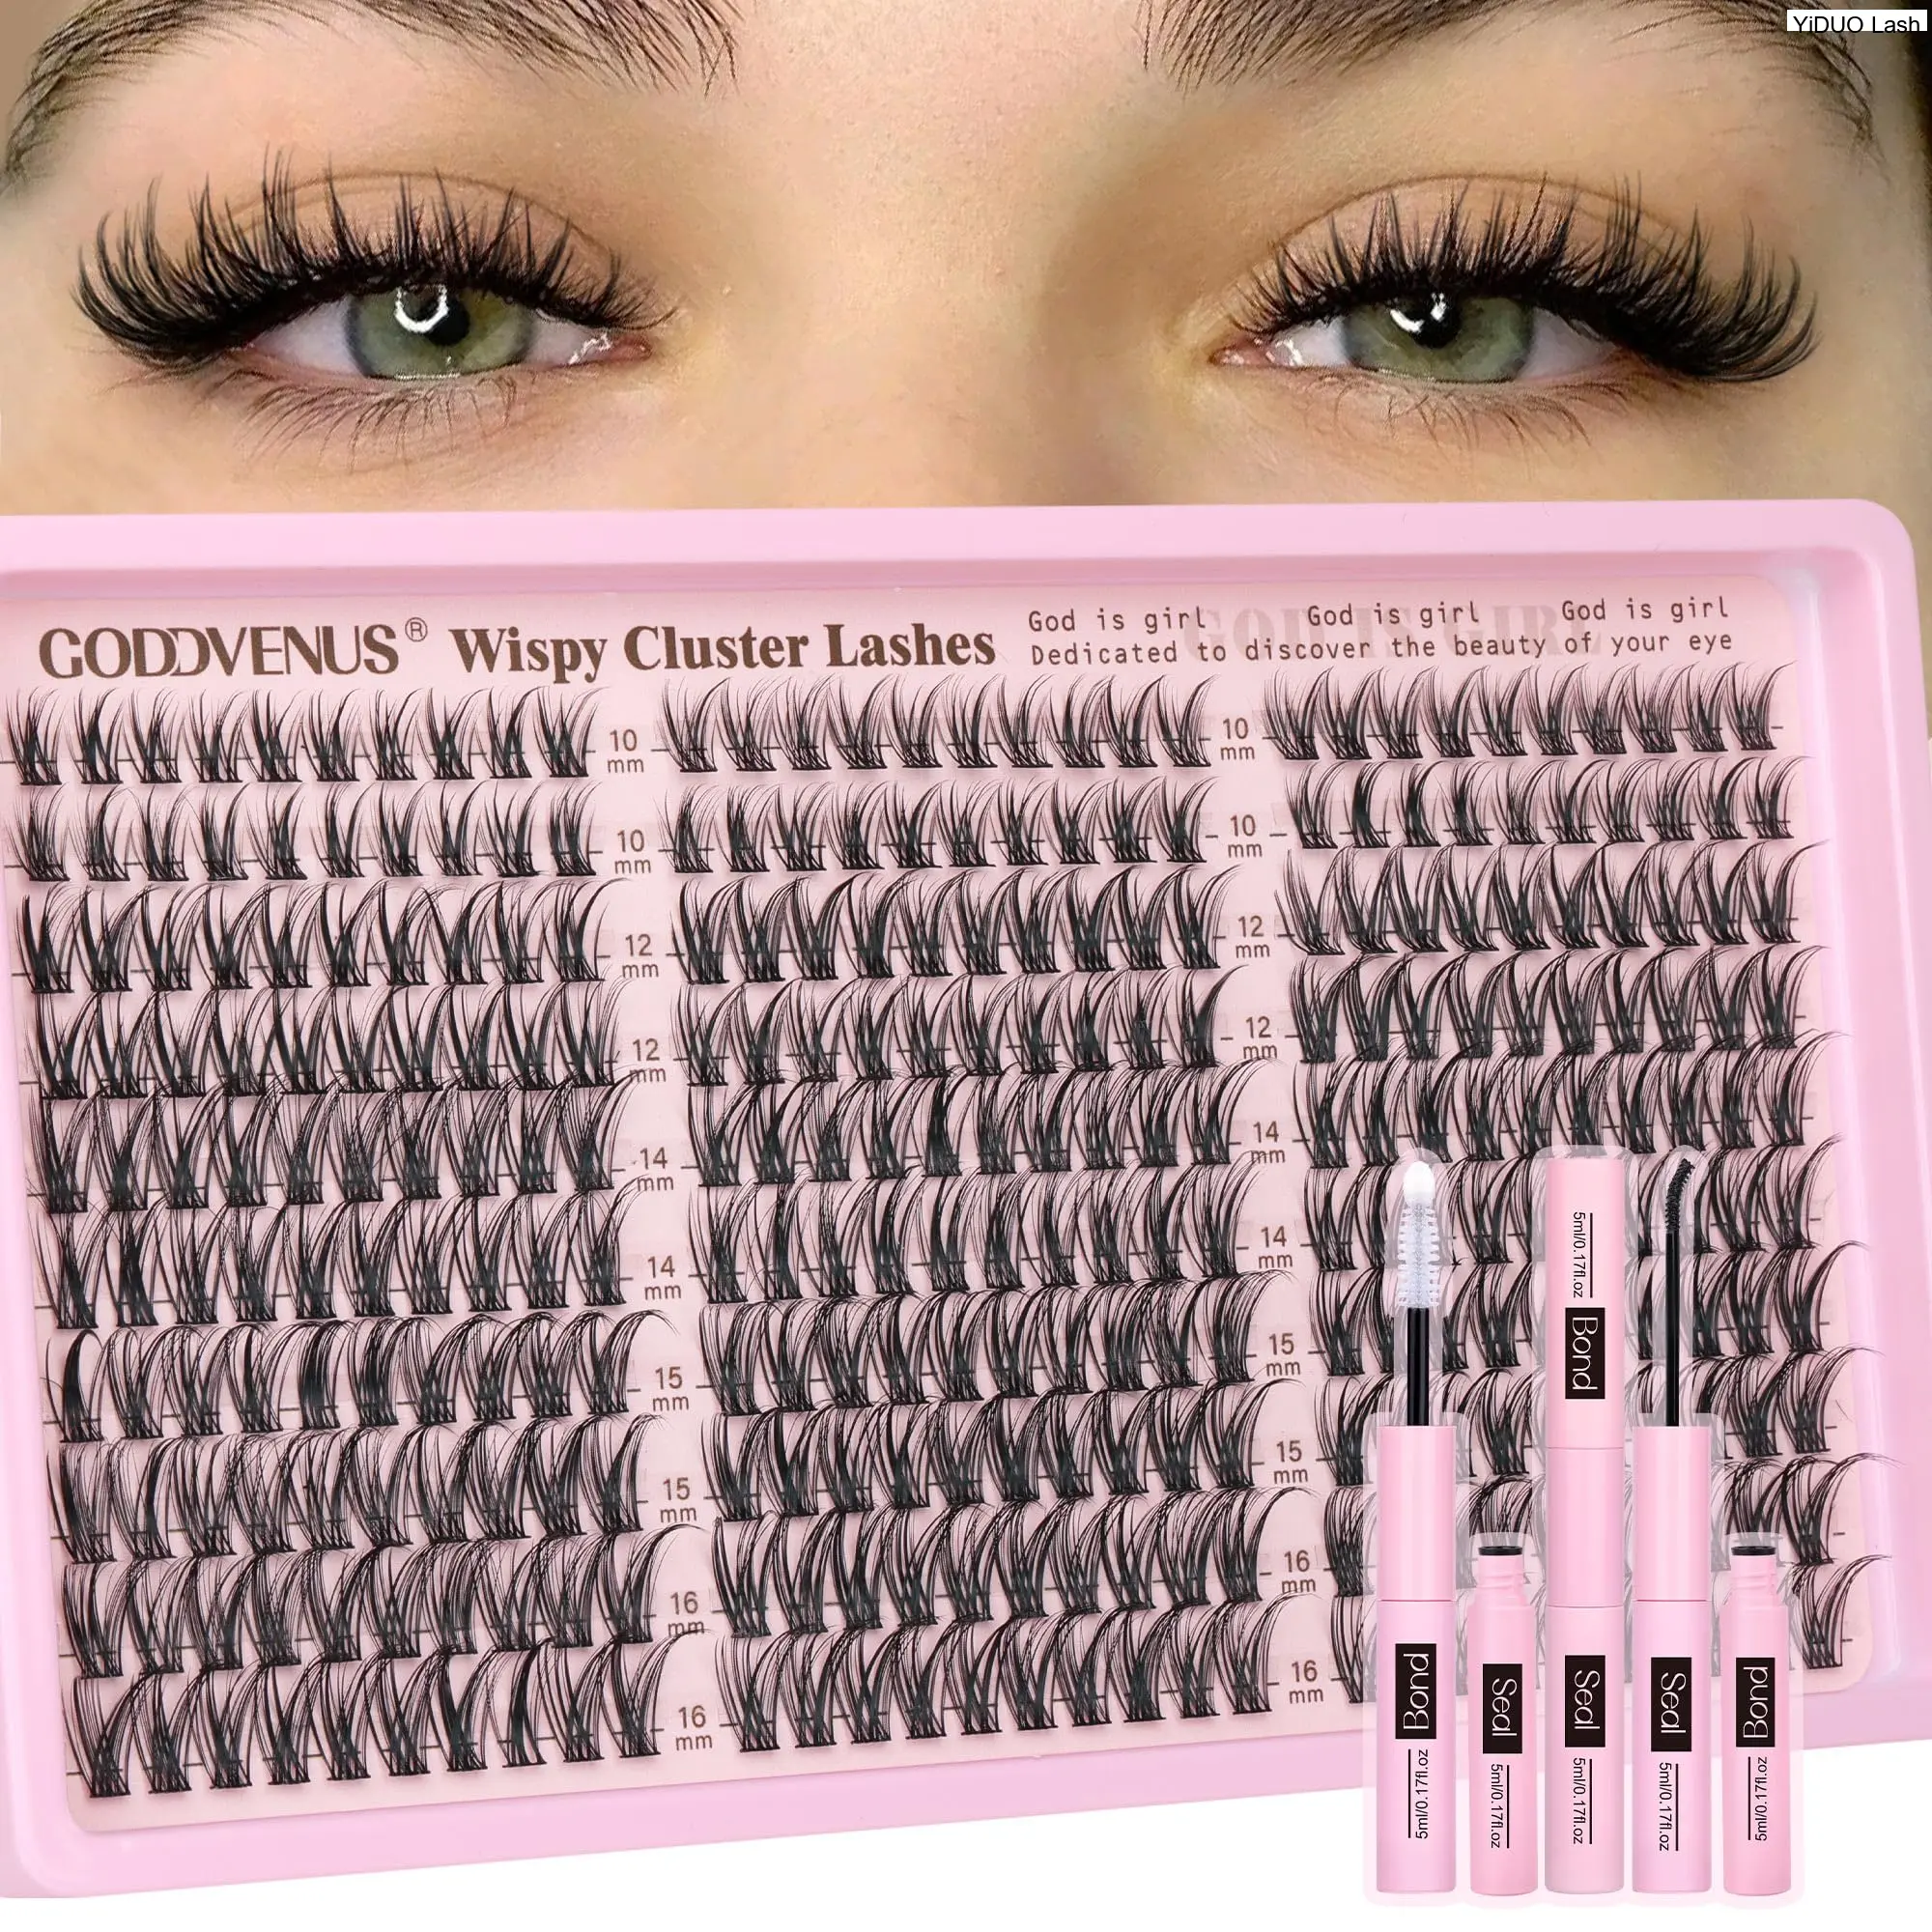
Cross lashes are a relatively new innovation in the DIY lash world. Unlike traditional strip lashes or cluster lashes where all the fibers run in one direction, cross lashes use a specialized technique where individual strands are laid in a criss-cross or X-shaped pattern at the base. This does two things: it creates incredible volume at the root without the heavy band feel, and it fans out into a light, feathered tip that mimics the natural growth pattern of real lashes.
The cross lashes of diydaylashes.com are among the most searched terms in the DIY lash category right now, which makes sense — DIYDAYLash has been one of the early brands pushing this criss-cross technique into the mainstream. But are they worth the hype? We decided to take a close look.
Cross Lashes vs. Traditional Cluster Lashes: What Is the Difference?
Before we dive into the review, here is a quick breakdown of how cross lashes compare to the cluster lashes most DIY lash wearers are already familiar with:
| Feature | Cross Lashes | Traditional Clusters |
|---|---|---|
| Band thickness | Ultra-thin, flexible | Moderate to thick |
| Volume distribution | Tapered, wispy ends | Uniform throughout |
| Application difficulty | Medium (needs placement precision) | Easy to moderate |
| Longevity | 7–10 days with proper bond | 5–10 days |
| Best for | Natural, textured glam | Defined, uniform volume |
| Cost per application | $6–$12 | $4–$10 |
Reviewing the Cross Lashes of DIYDAYLash.com
DIYDAYLash has positioned itself as a go-to destination for cross lashes, and after testing their products, here is our honest take.
What We Liked
- Incredibly lightweight feel. The crossed fiber pattern at the base distributes weight more evenly than a solid band, so you genuinely forget you are wearing them.
- Natural-looking volume. Because the fibers fan out in different directions, the lashes catch light in a way that mimics real lash density. No blunt, choppy lines.
- Good variety of styles. They offer cross lashes in multiple curls (C, D, DD) and lengths, so you can build custom looks.
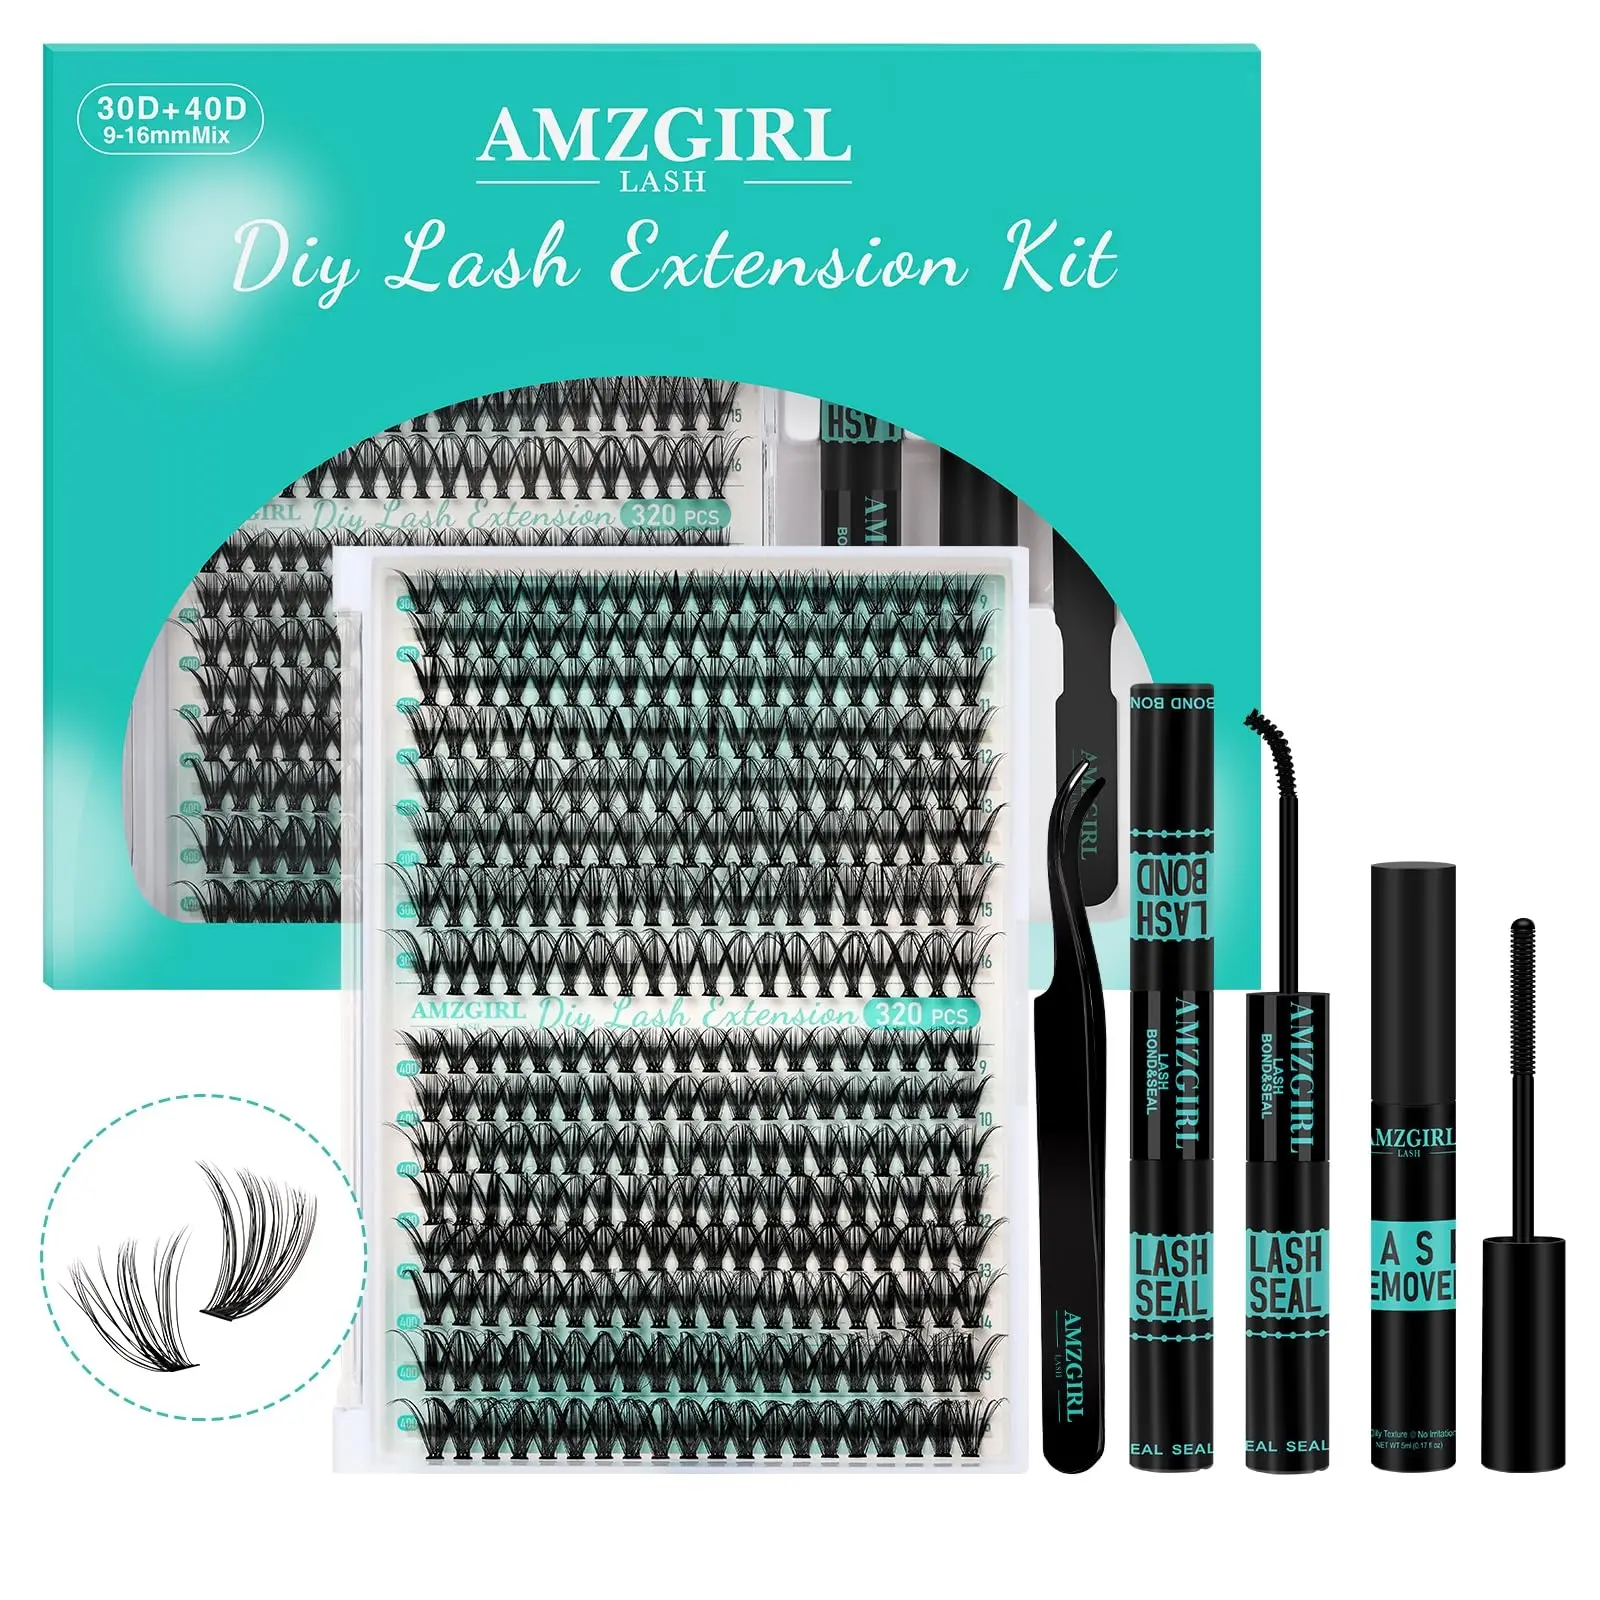
- Beginner-friendly packaging. Each set comes in a clearly labeled tray with the curl type and length printed — helpful when you are still learning what works for your eye shape.
What Could Be Better
- Price point. At roughly $2–$3 more per tray than comparable cross lash products, the premium adds up if you are a frequent wearer.
- Sizing inconsistency. A few trays we tested had noticeable variation in cluster width between the left and right strips — not a dealbreaker, but worth mentioning.
- Limited bond and seal options. Their lineup focuses heavily on the lashes themselves; the adhesive products feel like an afterthought compared to brands that specialize in bond-and-seal systems.
How to Apply Cross Lashes for the Best Results
Cross lashes require slightly more attention during placement than standard clusters because the fibers fan out in multiple directions. Here is the technique that gave us the cleanest result:
- Cleanse and prep. Remove all oil and residue from your natural lashes. Cross lashes have a lighter base, so they need a completely clean surface to grip properly.
- Apply a thin bond layer. Use a clear lash bond and apply it sparingly along the base of your natural lashes — not directly onto the lash band. Wait 30 seconds until it turns tacky.
- Pick and place carefully. Use precision tweezers to pick up each cluster by the crossed base (not the tips). Position the cluster underneath your natural lashes, as close to the waterline as comfortable, and press gently.
- Hold for 5–8 seconds. Cross lashes need a slightly longer hold time than regular clusters because the crossed fibers create more surface area that needs to bond.
- Seal and set. Apply a thin seal coat over the bonded root area and fan the tips gently with a lash brush to separate any fibers that may have clumped during placement.
- Avoid water for 24 hours. Give the bond time to fully cure for maximum longevity.
YiDUOLash Cross Lash Alternatives
While the cross lashes of diydaylashes.com are a solid option, YiDUOLash has been developing our own take on the textured lash category. Our Comic Lashes and Volume Fans collections incorporate multi-directional fiber placement similar to cross lashes, with a few key differences:
- Thinner, more flexible bands. Our lash bands measure under 0.3mm — among the thinnest on the market.
- Bond and seal included with every kit. We believe the adhesive system is just as important as the lashes, so every cluster kit ships with a complete bond and seal duo.
- Korean-grade fiber. All YiDUOLash fibers are sourced from the same suppliers that stock premium Korean lash salons.
Final Verdict: Are Cross Lashes Worth It?
Yes — with the right expectations. Cross lashes are not a magic upgrade over every cluster lash on the market, but they do deliver a noticeably lighter, more natural look. If you want that "are they real or are they not?" effect, the criss-cross technique is the closest thing we have found to genuine lash extensions at a DIY price.
The cross lashes of diydaylashes.com are a respectable entry in the category, especially for beginners who want clear labeling and straightforward style options. For those who want thinner bands, better adhesive pairings, or more dramatic volume options, YiDUOLash offers compelling alternatives across our Comic Lashes, Volume Fans, and Cluster Lashes collections.
Have you tried cross lashes? Tag us at @yiduolash — we would love to see your look.