I have been through the wringer with lash products — strip lashes that lift at the corners by lunch, salon extensions that cost more than my car insurance, and cheap clusters that looked like I glued pipe cleaners to my eyelids. When I ordered this Azenlo kit, I was skeptical. But after wearing these for two weeks straight — swapping fresh clusters every 3 days — I get it now. This is the kit I wish I had started with.
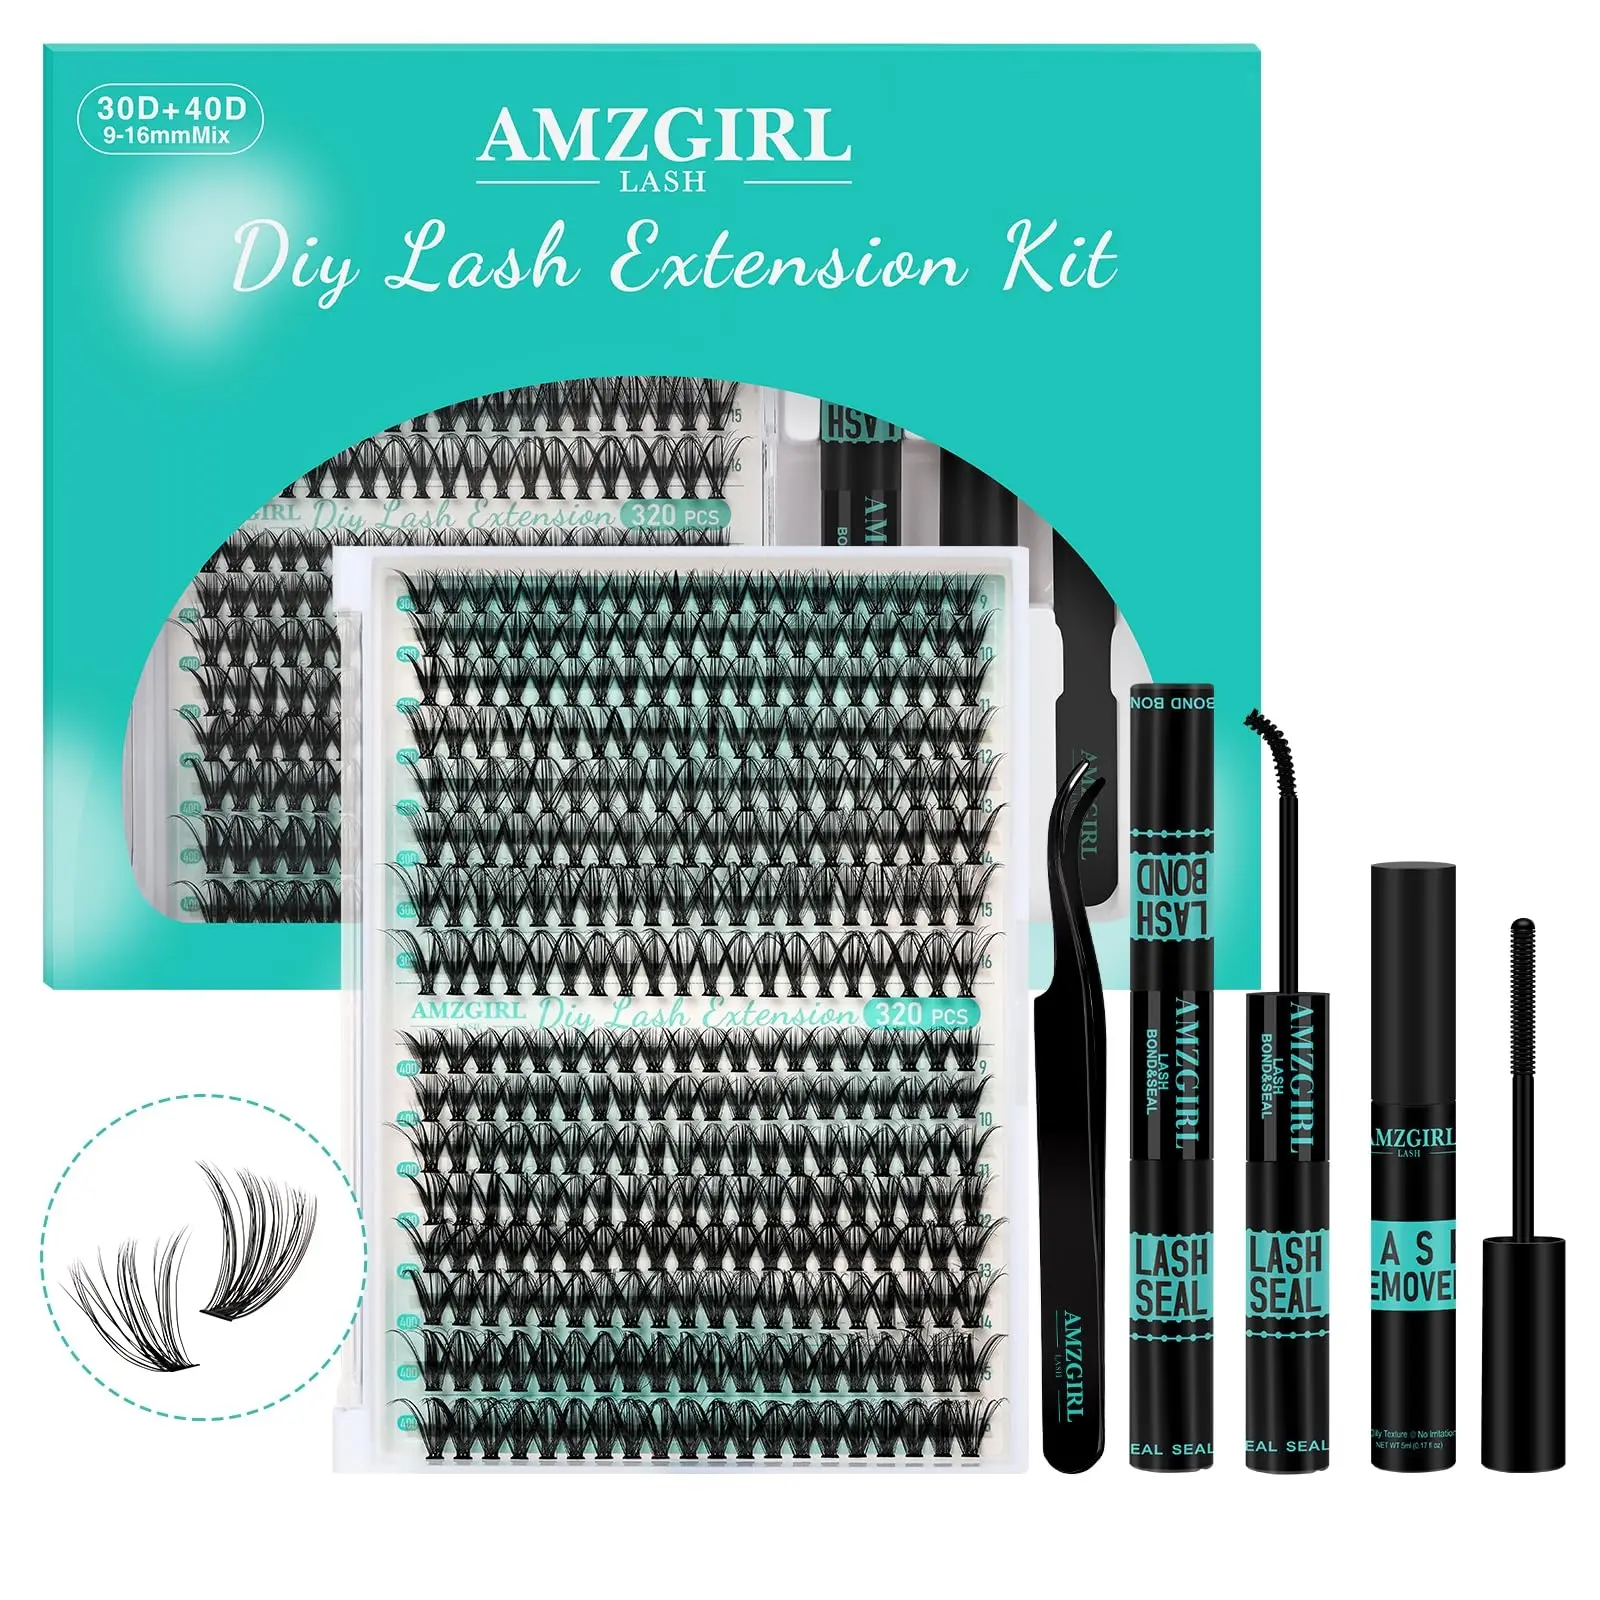
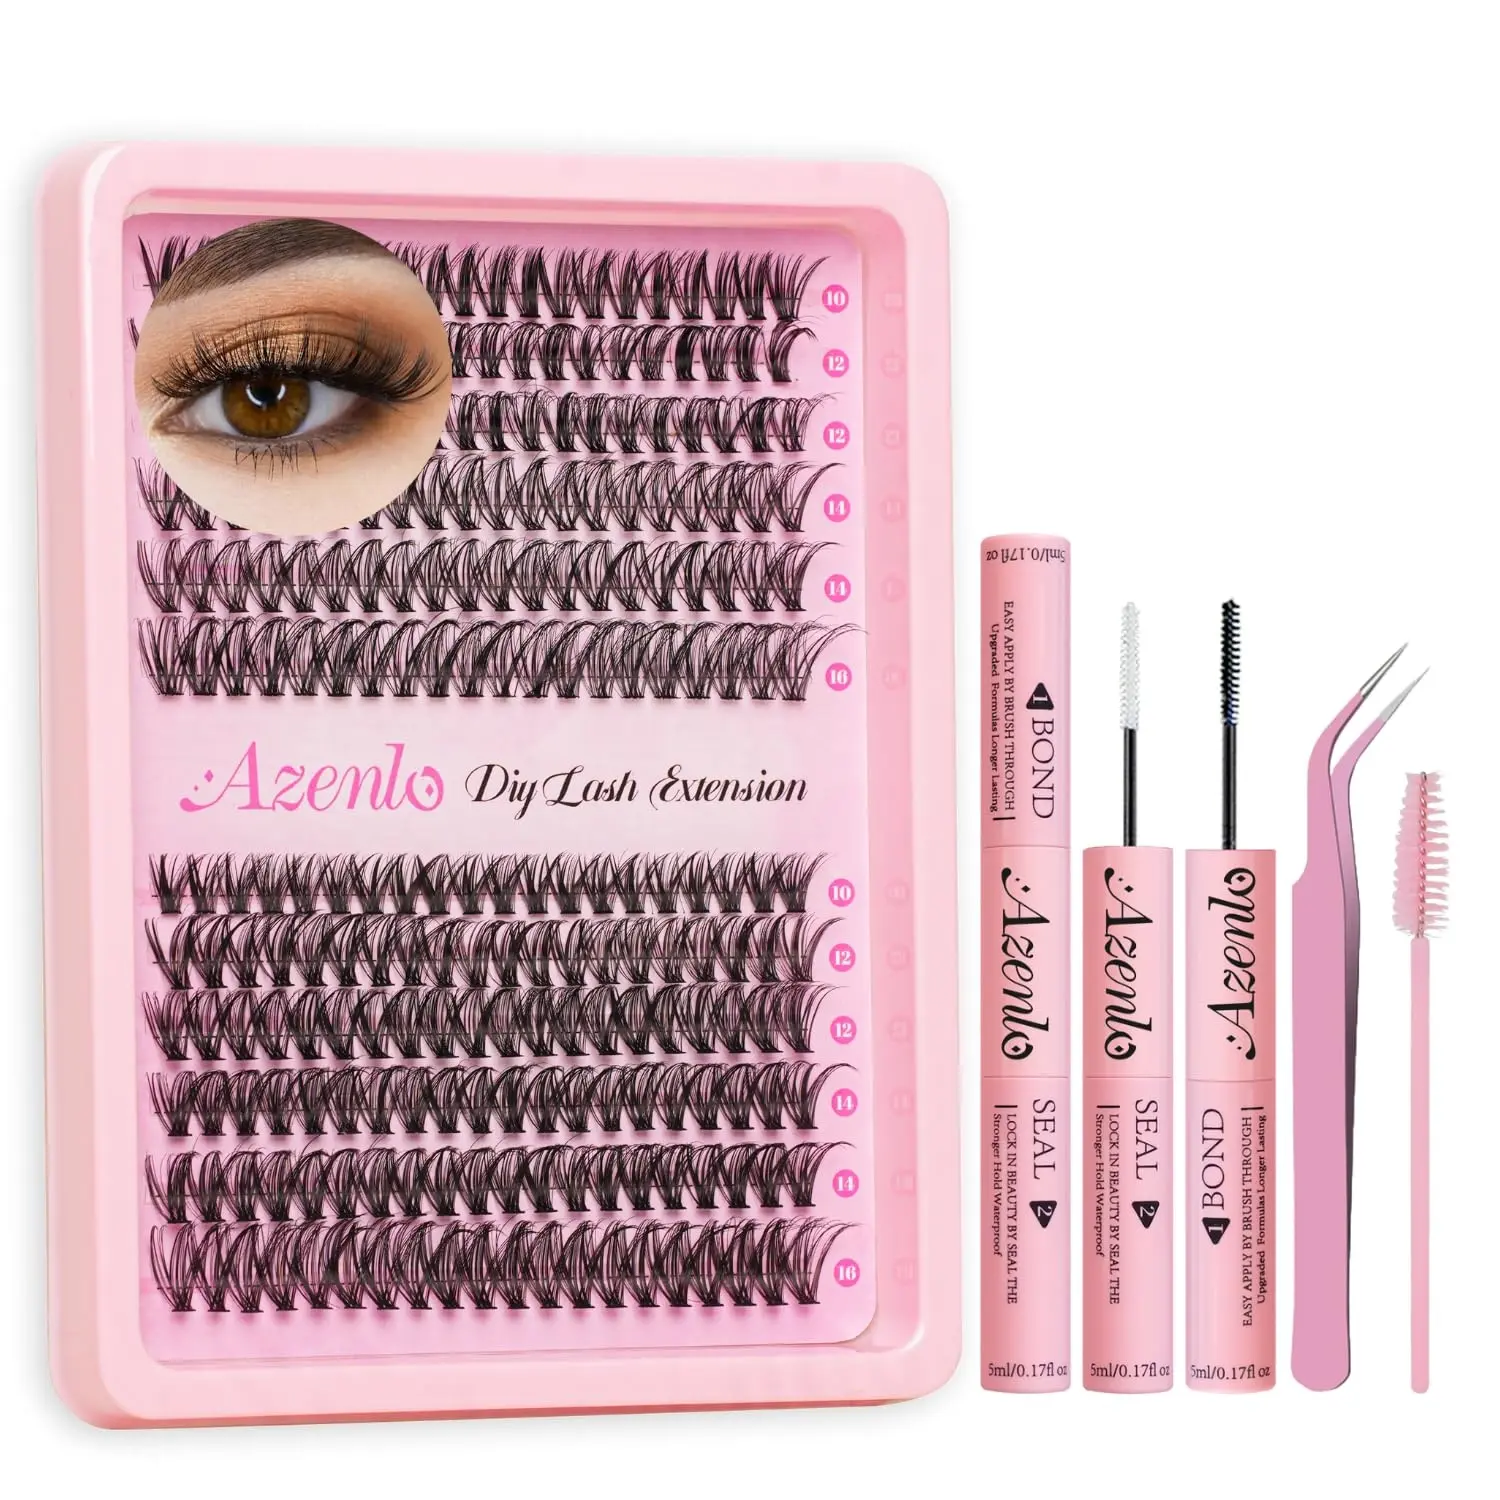
The box arrived with everything laid out neatly: 240 individual lash clusters split between two densities (30D and 40D), a dual-ended bond and seal tube, precision tweezers, and a spoolie brush. No hunting down separate products or watching twelve YouTube videos to figure out what else you need. The thin band on every cluster was the first thing I noticed — barely visible against the lash line, which solves the biggest complaint I have about budget clusters looking like a strip of plastic glued to your lid.
Opening the box for the first time, I was genuinely surprised by how complete this kit is. No filler, no wasteful extras — just the tools you actually need and 240 clusters neatly sorted by density. The tweezers have a fine tip that grabs the thin band cleanly without tearing it, which is something cheaper kits get wrong. If you have ever wrestled with blunt tweezers that shred your clusters before they reach your lash line, you know exactly how much that matters.
Is It Worth It to Buy Lash Clusters, or Should I Just Get Professional Extensions?
I have done both, and clusters win on cost alone — but only if you pick a brand that does not feel cheap on the eye. Salon extensions ran me about $120 for a full set plus $60 fills every two weeks. That adds up fast, and honestly, the damage to my natural lashes was worse with extensions than with clusters. When a mature lash gets bonded to an immature one and tugged on for two weeks straight, you lose both — I had visible gaps after six months of fills.
These Azenlo clusters give me the same fullness I paid for at the salon, but I control when they come off and how gentle the removal is. For $8.63, this kit has already lasted me through four full applications with clusters left to spare. I worked out the math: that is under $2 per wear for salon-quality volume. My wallet noticed the difference before my lashes did.
The trade-off is longevity. Clusters give me 3 solid days before I want to refresh them, while extensions held for two weeks. But honestly — by day 10 of extensions, my lash line looked patchy and grown-out anyway. I would rather have 3 days of crisp, full lashes I can redo whenever I want than 14 days of something that looks progressively worse.
Can Beginners Actually Apply These Without Practice, or Is There a Steep Learning Curve?
Let me be straight: your first attempt will not be Instagram-ready. Mine certainly was not. I blinked bond into my waterline, stuck a cluster to the tweezers instead of my lashes, and somehow got sealant on my eyebrow. The learning curve is real — but it is also short.
By my third application, I had it down to about 15 minutes total for both eyes. The key things that changed everything for me:
- Curl your natural lashes first. The clusters sit underneath, and a good curl gives them a shelf to rest on. Skip this and they will slide around while the bond sets.
- Less bond is more. I went heavy on my first try and ended up with sticky, clumpy lashes that hardened into little plastic spikes. A thin swipe along the band is all you need.
- Overlap, do not butt them up side by side. Side-by-side placement left weird gaps between clusters. Slight overlap — just a millimeter — makes the lash line seamless.
- A 30x magnifying mirror on a stand was the real MVP. I started with my bathroom mirror and could not see what I was doing. The stand mirror freed both hands and showed me exactly where each cluster was landing.
The thin band on these Azenlo clusters genuinely helps. It flexes to follow the curve of your lash line instead of fighting it, so each cluster molds into place rather than poking up at one end. I have used thicker-band clusters before and the difference in ease of placement is significant.
Does the Bond and Seal Actually Last More Than 2 Days?
Here is the honest timeline from my testing. I applied a full set using the included bond and seal on a Monday morning. By Tuesday night they still looked fresh — fluffy, lifted, no lifting at the corners. Wednesday morning I woke up and one cluster had migrated to my pillowcase. By Wednesday evening, two more had slipped. I got 2.5 solid, photogenic days out of each application before needing to fix anything.
After about three uses, the bond started thickening in the tube and did not apply as smoothly. This is a known thing with cluster glues — I have experienced it with multiple brands, not just this one. I picked up a separate lash bond and seal replacement for about 5 USD and the Azenlo clusters themselves have kept working beautifully with it. The included glue is fine to get started with, but budget for a refill if you plan to do clusters weekly.
One thing that genuinely surprised me: these clusters handle water. I showered with them on — not carefully, but full face-under-the-stream showering — and they did not budge. A reviewer in another group mentioned wearing hers scuba diving and they stayed on through the dive, which I found hard to believe until I tested my own in the shower and pool. The bond does not dissolve on contact with water the way some cheaper glues do. Just pat them dry gently afterward instead of rubbing with a towel.
How Do I Prevent Clusters from Damaging My Natural Lashes?
This was my biggest fear going in, and it is the number-one reason people in the lash community warn each other about clusters. The damage does not come from wearing them — it comes from ripping them off. Your natural lashes grow in staggered cycles. When a mature lash that is ready to shed gets bonded to an immature one still anchored deep in the follicle, yanking them both out at once is what creates those patchy gaps that take months to fill back in.
Here is what actually works for me:
- Remove them every night if you can, or at most every 3 days. I know the package says longer wear is possible, but your lash health is not worth the convenience. I take mine off before bed on day 3 even if they still look fine.
- Use an oil-based remover or aloe vera gel to dissolve the bond. Do not pull dry clusters off. I work a bit of micellar water with oil along the lash line, wait 30 seconds, and the clusters slide right off without resistance. If you feel any tugging, stop and add more remover — do not power through it.
- Castor oil at night on bare lashes. I apply it with a clean spoolie along my lash line before bed. After two weeks of cluster wear, my natural lashes look just as full as before — no gaps, no thinning.
I have sensitive eyes that react to everything, and these clusters caused zero irritation across multiple wears. No redness, no itching, no swollen lids the next morning. The PBT silk fiber is lightweight enough that I forget I am wearing them by midday. If your eyes tend to water or react to lash adhesives, the Azenlo formula is gentler than most — but still patch-test on a single cluster first.
Pros, Cons, and Verdict
What I love: The dual-density kit. The 30D clusters give a soft "no-makeup makeup" look — just enough volume that my lashes look naturally full without anyone asking where I got my extensions done. The 40D clusters add noticeable drama for date nights and events. Having both in one kit means I can mix densities on the same eye: 30D on the inner corner where I want subtle lift, 40D on the outer half for that cat-eye sweep. The variety of lengths (10mm through 16mm) lets me build an actual lash map instead of getting the same flat length across my whole eye.
What could be better: The included bond thickens after a handful of uses — this is my one real gripe. For a kit marketed to beginners, having the adhesive degrade that fast is frustrating because new users will assume the whole product is bad, not just the glue. Plan on buying a standalone bond and seal refill within your first month. Also, the 50D and 60D densities are not included in this kit — if you want mega-volume glam, you will need to supplement with a denser set.
Azenlo 30D+40D Lash Clusters Kit
240-piece thin-band DIY extension kit with dual-density clusters, bond & seal, and starter tools — salon-quality volume at home.
View Product — $8.63The bottom line: If you want pro-level volume without the salon price tag — and you are willing to invest about 3 tries to get the hang of application — this Azenlo kit is one of the best values I have found. I have tested other DIY lash extension kits at similar prices, and the thin band, the mix of densities, and the gentle formula make this one a standout among the sea of identical-looking cluster kits. I get compliments on my lashes every single day wearing these. Run through the included bond, replace it with a better refill, and you have a system that delivers salon-quality lashes for under $2 per wear. For beginners dipping into DIY extensions or experienced cluster wearers tired of thick-band budget kits, this one earns its spot in the rotation.
| Product Specs | |
|---|---|
| Brand | Azenlo |
| Pieces | 240 clusters (30D + 40D mix) |
| Curl | D Curl |
| Length | 10–16mm mixed |
| Band Type | Thin / Invisible |
| Material | PBT silk fiber (cruelty-free, vegan) |
| Included | Bond & Seal (2-in-1), tweezers, spoolie brush |
| Price | $8.63 |
I am already planning my next order — not because I ran out, but because I want a backup kit stashed in my travel bag. Once you find clusters that actually work, you stop looking.