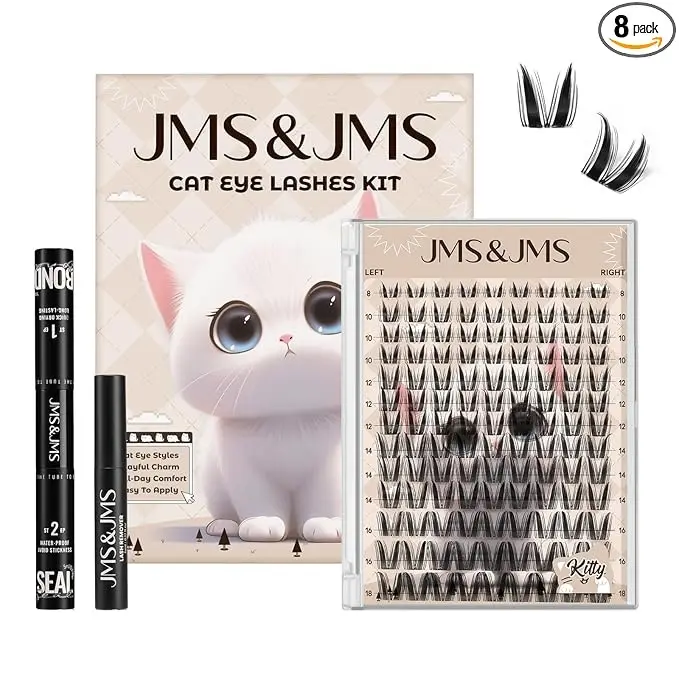
I've been wanting to try the anime/bunny lash look for months. The problem: every Reddit thread about salon anime sets is a horror story. Wrong mapping, uneven spikes, techs who say they can do it and can't. One lash artist with six years of experience put it bluntly — "anime style is very hard to achieve and not every lash technician can execute it." So when I found this JMS&JMS bunny lash clusters kit for $8.99 with 4.5 stars and the adhesive included, I figured DIY was the smarter entry point.
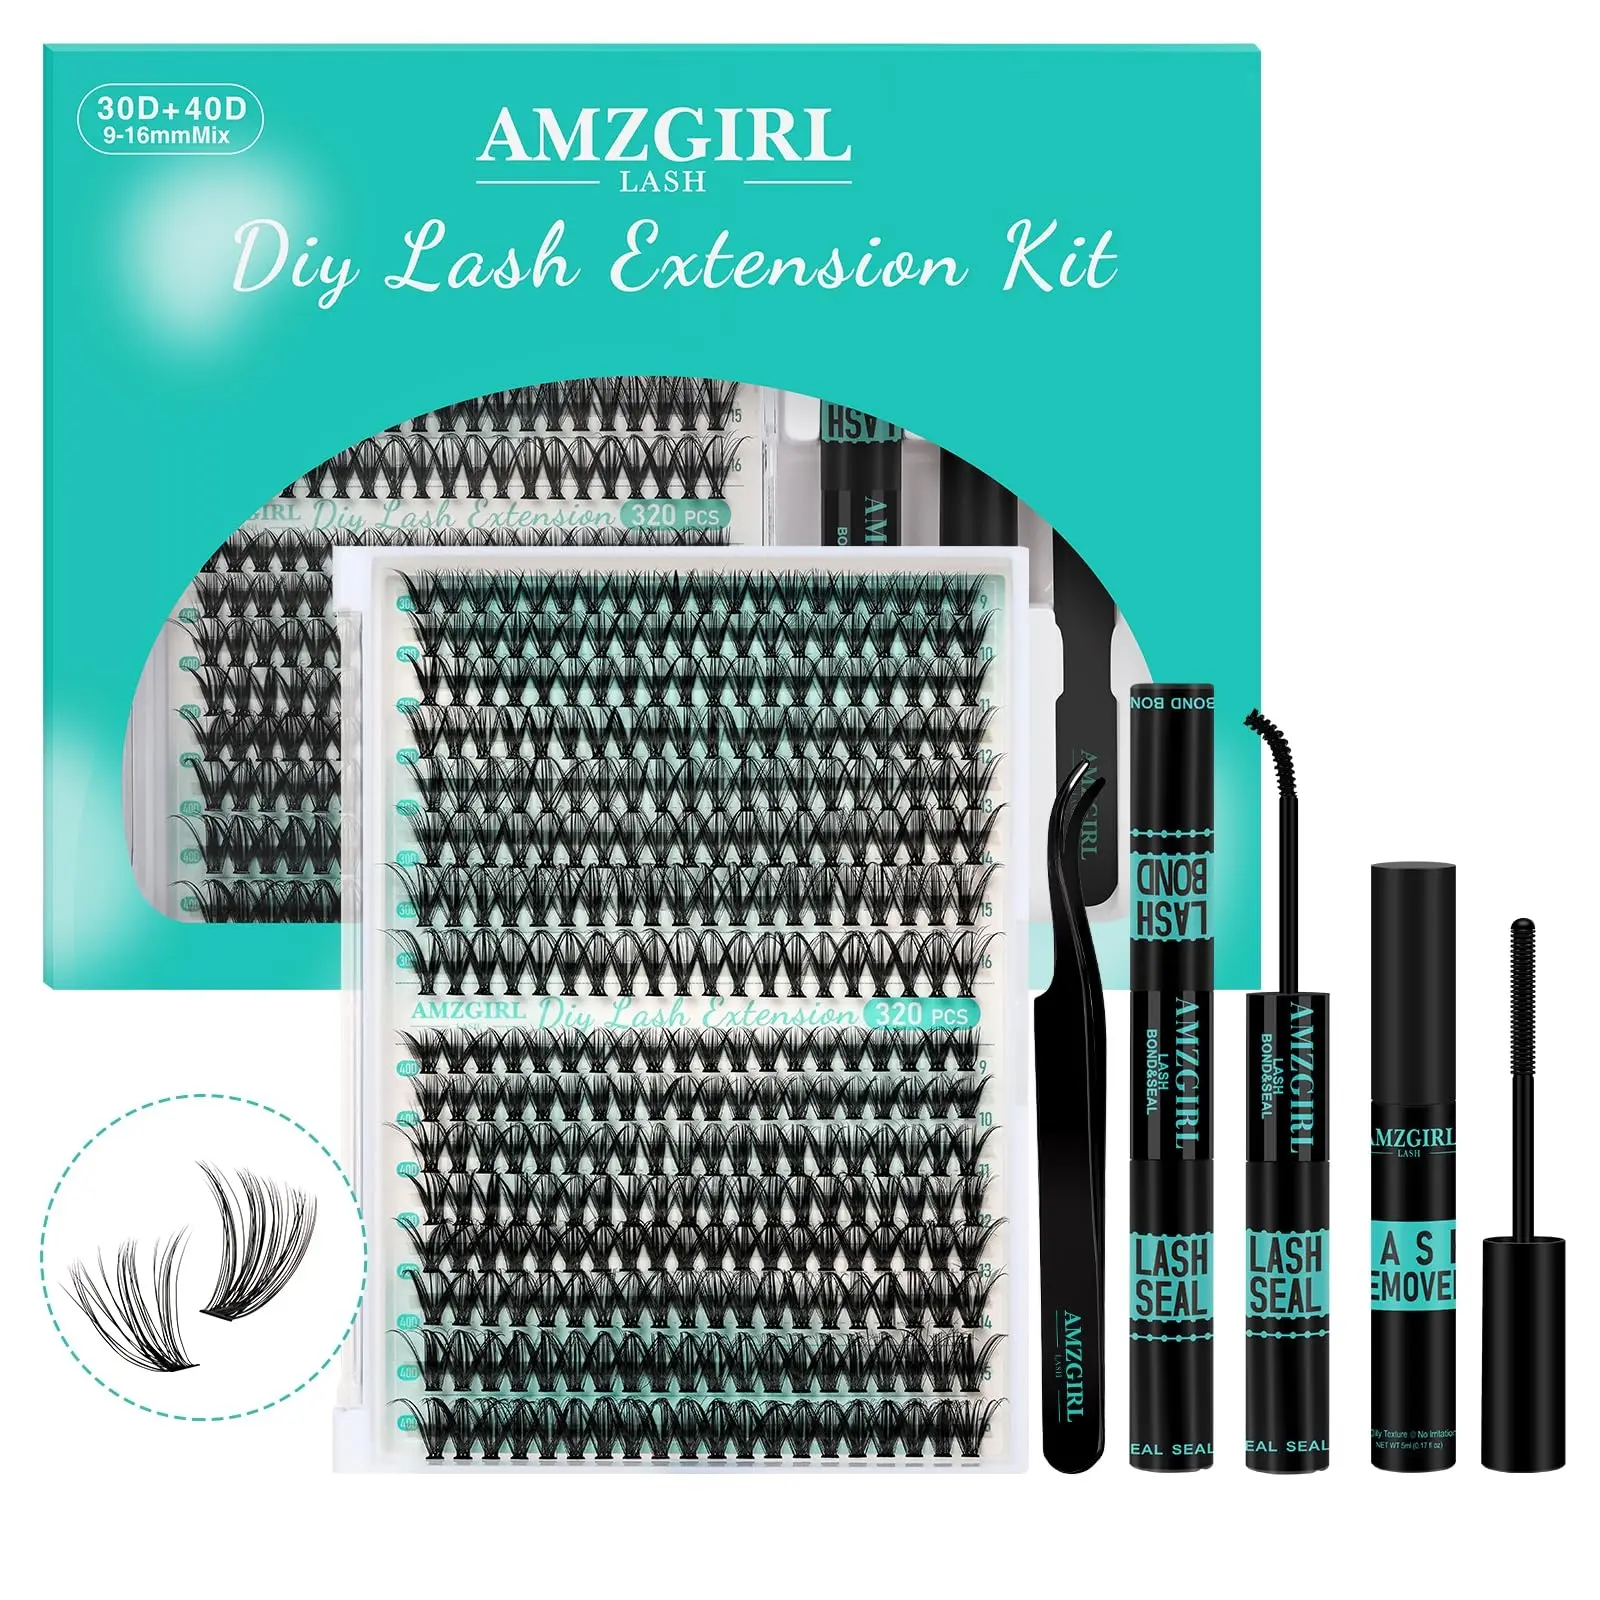
The kit landed in a compact box with 120 clusters in a single tray, a tube of bond, a tube of seal, tweezers, and a small remover. For under nine dollars, getting the full application toolkit alongside the lashes is a better deal than most cluster-only packs.
What's in the Kit — and What the Bunny Style Actually Is
Bunny style is a manga-lash variant with strategically placed spikes that alternate between longer and shorter clusters, creating a feathered, eye-opening effect. Unlike traditional strip lashes where every lash is the same length, bunny clusters use a mapped pattern — the spikes sit at specific points along the lash line to lift and widen the eye. The JMS&JMS kit uses C-curl clusters in a 10-16mm mix with an invisible clear band.
The clusters themselves are lightweight faux mink on a thin transparent band. The band is flexible enough to conform to your lash line without that stiff, plastic feeling some cheaper clusters have. There are enough clusters for about 5-6 full sets — more if you're strategic with placement or doing a lighter look.
Application: Way Easier Than You'd Think
Full disclosure: I am not a lash tech. My previous DIY experience was strip lashes that I'd wrestle with for 20 minutes before giving up. The bunny clusters took me about 15 minutes on my first try. The process is straightforward — a dab of bond along the lash line, pick up a cluster with the tweezers, place it under your natural lashes (not on top), and press gently. The seal locks everything in place once you're happy with the placement.
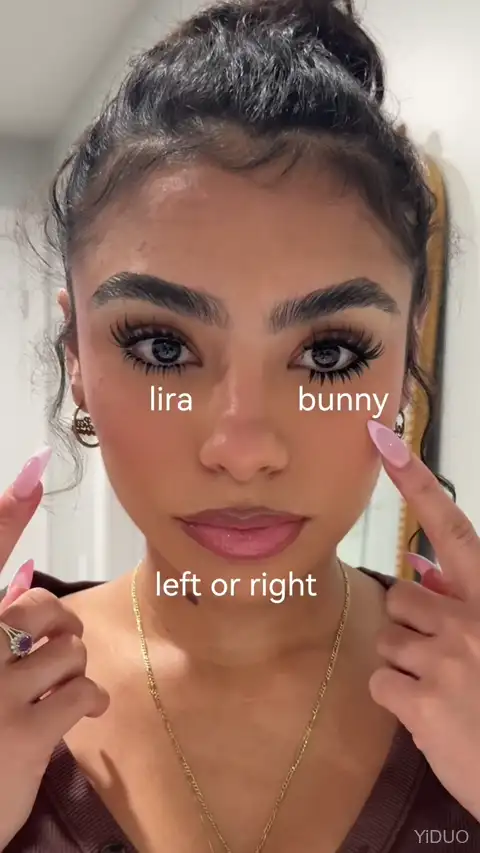
The bunny style gives a dramatic, fuller, and thicker look that genuinely makes your eyes look bigger. I compared bunny on my right eye to a more natural style on my left, and the difference was stark — the bunny eye looked lifted and wide, while the natural side just looked like I was wearing mascara. For evening looks, festivals, or any time you want your eyes to read clearly in photos, the bunny style delivers.
One thing I learned: these are under-lash clusters, so you place them beneath your natural lashes, not on your eyelid. If you've only ever used strip lashes, this takes a mental adjustment. Once you get the angle right, it's actually easier because the cluster sits flush against your lash line instead of floating above it.
Is the Included Adhesive Any Good?
The included bond and seal are functional but not premium. The bond has decent tack — clusters stayed put through an evening out and into the next day. The seal is a clear drying liquid that locks the clusters in place. I got about 3 days of wear before the inner corner clusters started lifting. For reference, a dedicated bond-and-seal system can push clusters to a week or more, so if you want extended wear, you'll want to upgrade the adhesive.
That said, for a kit at this price point that includes bond, seal, tweezers, remover, and 120 clusters, I'm not complaining. The included tools are good enough to get you started, and if you decide bunny lashes are your thing, you can upgrade the adhesive later.
Pros, Cons, and Verdict
What I liked: the bunny style is genuinely eye-opening — the spike mapping creates a lifted, doll-like effect that photographs beautifully. The clusters are lightweight and the invisible band doesn't irritate. At $8.99 with the full tool kit, it's a low-risk entry into anime-style lashes. The clusters are reusable — I got 3-4 wears out of a single set before the band started to lose shape.
What I didn't love: the included bond could be stickier — I'd budget for a separate adhesive if you're planning regular wear. The tray doesn't label which clusters are which length, so you have to eyeball the mapping. And the bunny style is intentionally dramatic — if you want something subtler, try a manga lash clusters style instead — this isn't your daily subtle lash. It reads as a look, which is exactly the point, but worth knowing going in.
For anyone who's been scrolling anime lash photos but doesn't want to gamble with a salon appointment, this kit is the right entry point. You'll figure out if the bunny style works for your eye shape without spending $100+ on a professional set that might not come out right. And honestly, given how many salon anime-lash horror stories are out there, DIY clusters might actually be the safer bet.
JMS&JMS Bunny Lash Clusters Kit
Anime bunny-style clusters with bond, seal, and tools — 120 pcs, C-curl, invisible band.
View Product — $8.99At $8.99, the JMS&JMS bunny kit is one of those Amazon finds where the value-to-risk ratio is nearly unbeatable. You get everything you need to try a trending style, and if it's not for you, you're out less than a lunch delivery.
| Product Specs | |
|---|---|
| Brand | JMS&JMS |
| Style | Bunny (Anime/Manga Spikes) |
| Curl | C Curl |
| Length | 10-16mm Mix |
| Count | 120 Clusters |
| Band | Invisible Clear Band |
| Includes | Bond, Seal, Tweezers, Remover |
| Rating | 4.5 / 5 (550+ reviews) |
If you've been wanting to try the anime lash look, this is the cheapest way in. No appointment, no awkward refund conversation, just 15 minutes and a mirror.